
Beautiful Plants For Your Interior
Beautiful Plants For Your Interior
That moment when the last orchid bloom drops is bittersweet—but it’s actually when the real magic begins. I used to think post-flowering care was just waiting for the next show, until I learned how this phase determines whether you’ll get another round of those stunning blooms. The difference between a plant that sulks for months […]
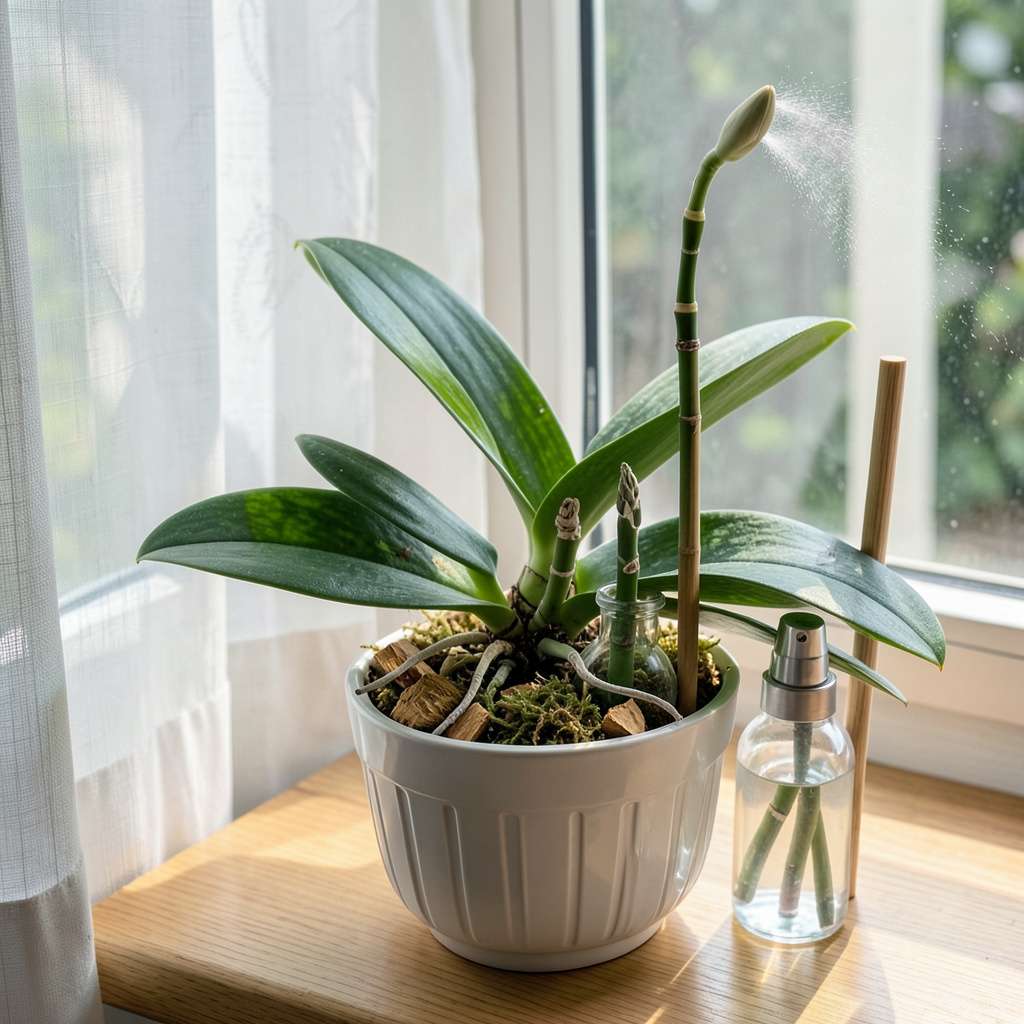
That moment when the last orchid bloom drops is bittersweet—but it’s actually when the real magic begins. I used to think post-flowering care was just waiting for the next show, until I learned how this phase determines whether you’ll get another round of those stunning blooms. The difference between a plant that sulks for months and one that rebounds with even more flowers? Just a few key adjustments to your routine.
Here’s the thing—most people treat orchids the same year-round, then wonder why they stop blooming. After the flowers fade, your plant is shifting energy from reproduction to recovery. This is when I cut back on watering (just once every 10-14 days), move plants to slightly brighter indirect light, and switch to a balanced fertilizer. The goal isn’t just survival; it’s building strength for the next flowering cycle.
You’ll start seeing new leaf growth within 4-6 weeks if you nail this phase. That’s your sign the plant is storing energy for future blooms. I’ve had orchids that looked nearly dead in winter explode with dozen-plus flowers the following season—all because of what happened after the previous blooms faded. The secret isn’t complicated equipment; it’s consistency in these three areas.
Works for Phalaenopsis, Cattleya, or any common indoor orchid variety. Whether you’re rescuing a gift plant or maintaining a collection, this approach resets the growth cycle properly. The payoff comes when that first new flower spike appears—proof your patience and care worked exactly as nature intended.
📚 In This Guide
1 pair of sterilized sharp scissors or pruning shears (rubbing alcohol for disinfection).
1 small bag of orchid-specific potting mix (bark-based, 4–6 cups).
1 bottle of balanced orchid fertilizer (20-20-20 or 10-10-10, diluted to half-strength).
Room-temperature filtered or distilled water (1–2 cups per watering).
Bright, indirect light source (east/west-facing window or grow light).
Your orchid’s blooms may be gone, but with the right care now, you’ll set the stage for even more spectacular flowers next season.
First, examine the flower spike (the stem that held the blooms). If it’s still green and firm, leave it intact—it may produce new flower buds in a few months. I’ve had Phalaenopsis orchids rebloom on the same spike within 8-12 weeks when left undisturbed.
If the spike turns yellow or brown, it’s spent. Use sterile scissors to cut it back to about 1 inch above the base where it emerges from the leaves. This prevents the plant from wasting energy on a dying stem while still allowing potential new growth.
Here’s the thing—never cut a green spike thinking you’re “helping” the plant. You might remove potential future blooms. When in doubt, wait and watch for a week or two before deciding.
After flowering, orchids enter a growth phase where they focus on roots and leaves. Reduce watering to about once every 10-14 days, but check the growing medium first. I stick my finger about 1 inch deep into the bark mix—if it feels dry, it’s time to water.
When you do water, use room-temperature water and soak the pot for 10-15 minutes in the sink. Let all excess water drain completely before returning it to its decorative container. Soggy roots are the fastest way to kill an orchid between blooms.
You’ll notice the leaves becoming slightly more pliable when the plant needs water. They should feel firm and cool to the touch when properly hydrated—like a fresh cucumber, not a limp lettuce leaf.
Move your orchid to a location with bright, indirect light—an east-facing window is ideal. Direct southern or western sun can scorch leaves that aren’t protected by blooms anymore. I use sheer curtains to filter intense afternoon light during summer months.
Maintain daytime temperatures between 65-80°F and allow a 10-15°F drop at night. This temperature fluctuation actually encourages future blooming. If your home stays consistently warm, place the orchid near a window that gets cooler at night.
Watch for leaf color changes—deep green indicates too little light, while reddish or purple tinges suggest too much. The perfect balance shows as medium green leaves with just a hint of yellow-green in new growth.
Begin a regular fertilization schedule using a balanced 20-20-20 orchid fertilizer diluted to half strength. Apply it every 2-3 waterings during the growing season. I’ve found this “weakly, weekly” approach prevents salt buildup that can damage roots.
Always fertilize after watering—never on dry roots. The bark mix should be evenly moist before adding fertilizer to prevent root burn. You’ll see new leaf growth within 4-6 weeks if the feeding schedule is working.
Real talk: If you see white crust forming on the bark or pot edges, flush the pot with plain water for 5 minutes to remove excess salts. This simple step can save an orchid that’s suddenly stopped growing.
Within 6-8 weeks, you should see new leaves emerging from the center crown or new roots growing from the stem base. These are signs your orchid is preparing for its next blooming cycle. I get excited when I spot the tiny pointed tips of new leaves pushing through.
If no new growth appears after 3 months, reassess your care routine. Check for proper light, consistent watering, and appropriate temperatures. Sometimes moving the plant to a different window or adjusting your watering schedule makes all the difference.
Don’t be discouraged if reblooming takes time—some orchids rest for 6-12 months between flowerings. The key is maintaining steady care during this period. Your patience will be rewarded with even more spectacular blooms next season.
After years of trial and error with orchids, we’ve learned that small adjustments make all the difference between a struggling plant and one that rewards you with stunning blooms.
Flower Spike Strategy: When assessing your flower spike in Step 1, remember that patience pays off. We’ve seen orchids produce new buds on the same spike within that 8-12 week window mentioned. If you’re tempted to cut a green spike, wait at least two weeks first—we once got a surprise rebloom after waiting just a little longer than we thought we should.
Watering Wisdom: The 10-15 minute soaking time in Step 2 is crucial, but here’s what we’ve noticed: room temperature matters. In cooler homes (below 68°F), extend the soak to 15 minutes. In warmer homes, 10 minutes is plenty. Always check that the bark mix feels evenly moist throughout—not just at the surface—before returning the plant to its container.
Temperature Technique: That 10-15°F nighttime temperature drop mentioned in Step 3 isn’t just helpful—it’s often the secret to reblooming. If your home stays warm at night, try placing your orchid on a windowsill (just watch for drafts). We’ve had success using a small fan on low setting for 30 minutes at night to simulate this natural temperature variation.
Fertilizer Focus: When following the fertilization schedule in Step 4, we recommend marking your calendar for those 2-3 watering intervals. It’s easy to forget when you last fertilized. Also, if you notice the bark mix drying out faster than usual after adding fertilizer, that’s a sign you need to flush the pot with plain water for the full 5 minutes to prevent salt buildup.
Water every 7–10 days in winter (or when the potting mix feels dry 1 inch down). In warmer months, check weekly—overwatering is the #1 killer! Use room-temperature water and avoid wetting the leaves to prevent rot. Pro tip: Lift the pot—if it feels light, it’s time to water.
It depends! For Phalaenopsis orchids, trim the spike 1 inch above a dormant bud (node) to encourage reblooming. If the spike turns brown/yellow, remove it entirely. Other types (like Cattleyas) may need full removal—check your orchid’s specific needs.
Yellow leaves often signal overwatering, low light, or nutrient deficiency. Check roots—mushy roots = too much water; wrinkled roots = underwatering. Move to bright, indirect light and fertilize weakly (½-strength) every 2–4 weeks with a balanced orchid food (20-20-20).
Wait until you see new root or leaf growth (usually spring/early summer). Repotting too soon can stress the plant. Use a well-draining mix (bark, sphagnum moss, or perlite) and a pot with drainage holes. Trim dead roots with sterilized scissors before repotting.
Reblooming requires three key triggers: Light (12+ hours of bright, indirect light daily), Temperature drop (10–15°F cooler at night for 4–6 weeks in fall/winter), and Fertilizer (switch to a high-phosphorus formula like 10-30-20 in late summer). Patience is key—some orchids take 18+ months!
Caring for your orchids after flowering doesn’t have to be complicated—just consistent watering, proper light, and a little patience will set them up for a stunning rebloom! 🌸 By following these simple steps, you’ll keep your plant healthy and encourage it to thrive for seasons to come.
Now that you’re equipped with the know-how, take a moment to check your orchid’s leaves and roots—are they looking vibrant? If so, you’re on the right track! For next steps, consider repotting if needed or exploring fertilizers tailored for orchids to give them an extra boost. Happy growing! 🌱
