
Beautiful Plants For Your Interior
Beautiful Plants For Your Interior
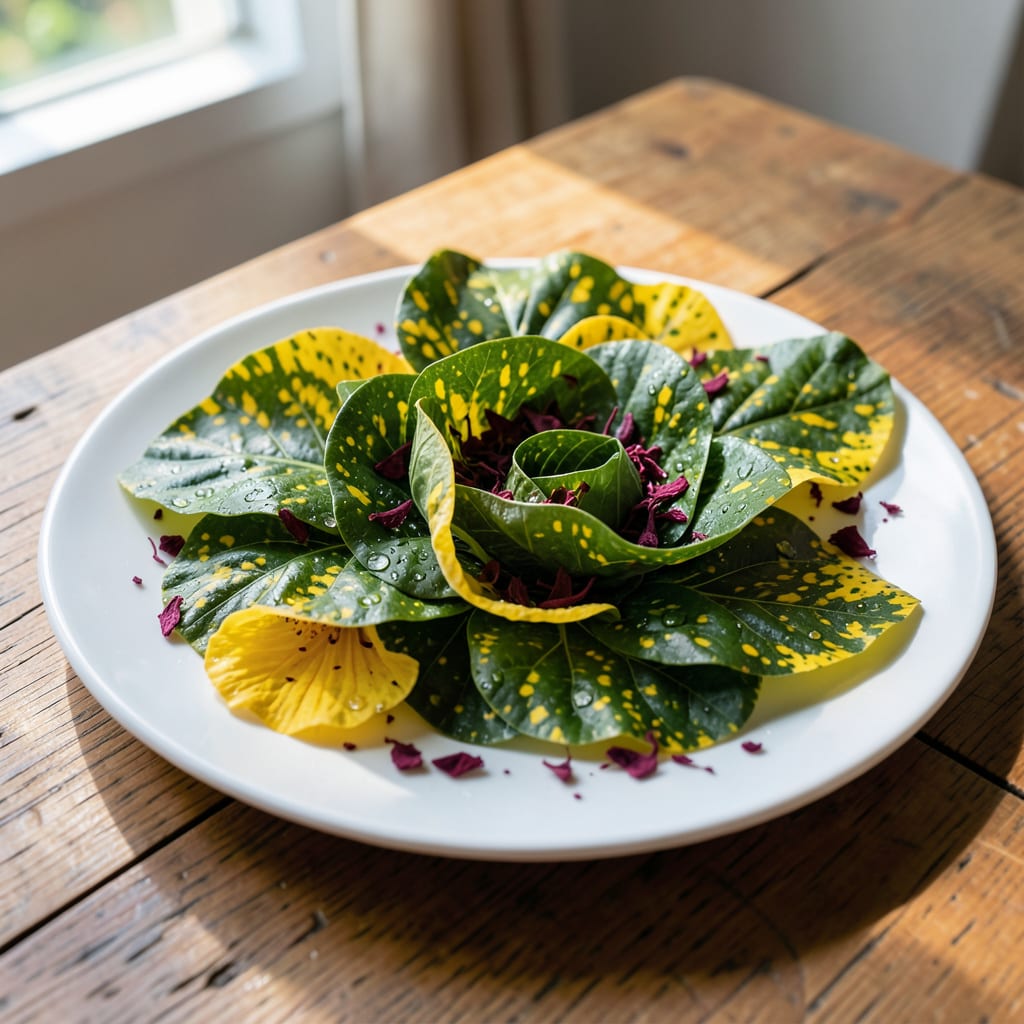
Yellow spots on hibiscus leaves stopped me in my tracks last summer. I’d nursed those plants for months, only to watch them decline overnight. The culprit wasn’t obvious at first—turns out, several issues can cause this exact pattern.
After some detective work, I narrowed it down to three main suspects: fungal infections, pest damage, or nutrient deficiencies. Each leaves a slightly different signature on the leaves, and the treatment varies wildly between them.
Here’s the thing— most of these problems are fixable with the right approach. I saved my hibiscus with a combination of neem oil sprays and soil amendments, and you can too. The key is acting fast before the damage spreads.
This guide will help you identify what’s happening and take the right steps to nurse your plant back to health. No guesswork, just results.
Hibiscus leaves turning yellow with spots often signal underlying stress or disease. Below are the most common causes, explained with actionable insights.
Fungal pathogens thrive in warm, humid conditions, attacking leaves and creating circular yellow or brown spots with dark edges. Cercospora often starts as small yellow halos, while Anthracnose causes sunken, irregular lesions. Overhead watering or poor air circulation accelerates spores’ spread.
Tiny pests like spider mites and aphids pierce leaf cells to feed, causing stippling (tiny yellow dots) that merge into larger spots. Check leaf undersides for webbing (mites) or sticky residue (aphids). These pests proliferate in dry, dusty environments or on stressed plants.
Yellowing between leaf veins (interveinal chlorosis) often points to magnesium (older leaves) or iron (young leaves) deficiency. Poor soil pH (too alkaline) can lock out these nutrients, even if they’re present. A soil test confirms imbalances; chelated iron or Epsom salt (magnesium sulfate) can correct them.
Root rot from overwatering causes yellowing leaves with brown spots as roots suffocate. Conversely, intense sunlight (especially in hot climates) can scorch leaves, creating bleached or crispy yellow patches. Hibiscus prefers consistent moisture and partial shade in peak afternoon heat.
Tackle those unsightly yellow spots on your hibiscus with these targeted fixes. Each solution addresses a specific cause, so you can act fast and restore your plant’s vibrant health.
If the issue stems from a lack of essential nutrients like magnesium or iron, switch to a balanced, water-soluble fertilizer (10-10-10 or 20-20-20) and apply every 2-4 weeks during the growing season. For iron deficiency, use chelated iron according to package instructions. Prevention tip 💡: Test your soil annually to catch deficiencies early.
Soggy soil can cause root rot, leading to yellowing leaves with spots. Let the top 1-2 inches of soil dry out between waterings, and ensure your pot has drainage holes. If the roots are already waterlogged, repot the plant in fresh, well-draining soil. Prevention tip 🌡️: Use a moisture meter to avoid guesswork.
Spider mites, aphids, or whiteflies can cause yellow spotting. Spray the plant with neem oil (mix 1 tbsp oil + 1 tsp dish soap + 1 quart water) every 5-7 days until pests are gone. Wipe leaves with a damp cloth to remove residue. Prevention tip ✨: Regularly inspect the undersides of leaves for early signs of pests.
Too much direct sun can scorch leaves, while too little light weakens the plant. Move your hibiscus to a spot with bright, indirect light (6+ hours daily). If indoors, place it near an east- or west-facing window. Prevention tip 🎯: Rotate the plant weekly for even light distribution.
Fungal diseases like leaf spot thrive in damp conditions. Remove infected leaves immediately, then apply a copper-based fungicide. Improve air circulation around the plant, and avoid wetting the leaves when watering. Prevention tip 💡: Space plants at least 3 feet apart to reduce humidity buildup.
Water when the top 1-2 inches of soil feels dry. Overwatering causes root rot, which leads to yellowing. Use a moisture meter for precision.
No, damaged leaves won’t recover. Focus on fixing the underlying issue to prevent new spots. Remove severely affected leaves to redirect energy.
A copper-based fungicide works well for Cercospora or Anthracnose. Apply every 7-10 days until the infection clears. Improve air circulation too.
Check leaf undersides for webbing (mites) or sticky residue (aphids). Tiny yellow dots merging into spots often indicate pest damage.
