
Beautiful Plants For Your Interior
Beautiful Plants For Your Interior
I’ll be real with you: hanging orchids changed my relationship with houseplants completely. There’s something magical about those cascading blooms spilling from a suspended basket—like bringing a tropical waterfall into your living room. My first attempt failed spectacularly (overwatering, wrong light), but once I cracked the code, these plants became my most rewarding indoor garden […]
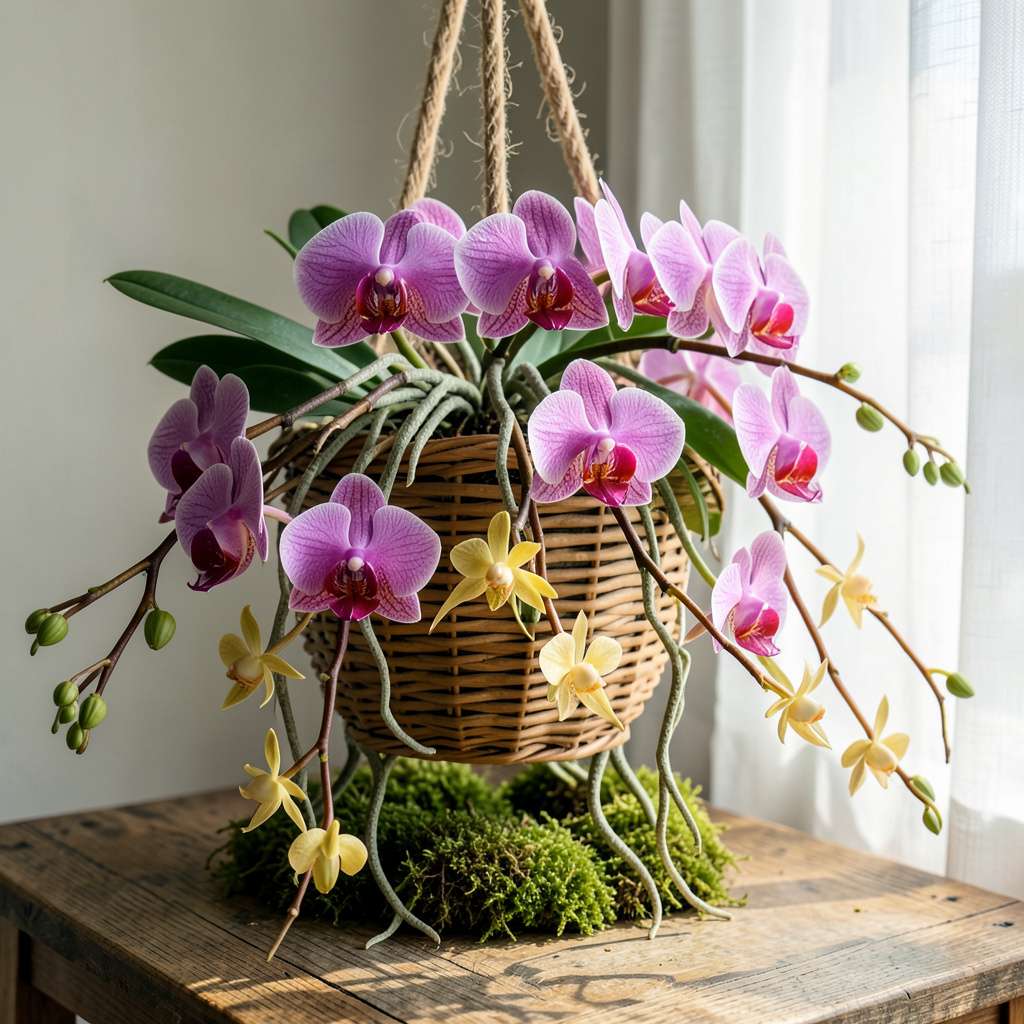
I’ll be real with you: hanging orchids changed my relationship with houseplants completely. There’s something magical about those cascading blooms spilling from a suspended basket—like bringing a tropical waterfall into your living room. My first attempt failed spectacularly (overwatering, wrong light), but once I cracked the code, these plants became my most rewarding indoor garden project.
The secret isn’t complicated equipment or exotic fertilizers. It’s about mimicking their natural environment: dappled light like they’d get under tree canopies, air circulation around the roots, and a watering routine that lets them dry out just enough. I’ve kept mine thriving for 3+ years now with just a south-facing window and a simple misting schedule.
What you’ll love most is watching those flower spikes emerge—sometimes dozens of blooms from a single plant. The flowers last for weeks, and with proper care, they’ll rebloom year after year. Even my black-thumb friends have succeeded with this method once they understood the two critical factors most people get wrong.
Whether you’re working with a sunny apartment or a dim corner that needs brightening, hanging orchids adapt beautifully. They’re the rare houseplant that actually prefers being slightly neglected to being fussed over. Here’s exactly how to set them up for success from day one.
📚 In This Guide
Transform your space with cascading orchid blooms using this proven method for healthy, thriving plants.
Not all orchids thrive in hanging baskets. Focus on epiphytic varieties like Phalaenopsis, Dendrobium, or Oncidium—these naturally grow on trees in the wild and adapt beautifully to suspended conditions. I’ve found Phalaenopsis particularly forgiving for beginners, with its long-lasting blooms and adaptable nature.
Examine the plant’s root system before purchasing. Healthy roots should appear silver-green when dry and bright green when wet. Avoid specimens with mushy brown roots or yellowing leaves—these indicate overwatering or root rot that will only worsen in a hanging environment.
Opt for a basket with slatted sides or open-weave construction to ensure proper airflow to the roots. Plastic-lined baskets retain too much moisture, while unglazed clay or wooden slat baskets mimic the orchid’s natural epiphytic habitat. The container should be 6-8 inches deep to accommodate root growth without crowding.
Line the basket with a 1-inch layer of coarse bark chips (orchid-specific mix) before adding your planting medium. This creates the air pockets orchid roots require while preventing the medium from compacting. I use sphagnum moss as a top layer to retain just enough moisture without waterlogging—critical for preventing root suffocation in hanging positions.
Gently remove the orchid from its nursery pot and examine the root ball. Trim any dead or damaged roots with sterilized scissors, cutting 1/4 inch above the damaged section. Position the plant in the basket so the base of the lowest leaf sits just above the rim—this prevents water from pooling at the crown.
Use soft nylon stockings or orchid clips to secure the plant without damaging roots. Never use wire or tight ties that can cut into the stem as it grows. The mounting should hold the plant firmly but allow 1/2 inch of movement for natural swaying—this actually strengthens the stem over time by encouraging thicker growth.
Water hanging orchids every 5-7 days by submerging the entire basket in room-temperature water for 10 minutes. Lift and let drain completely before rehanging—the roots should appear silvery-green when properly hydrated. I use the “finger test”: if the moss feels slightly damp but not wet 1 inch below the surface, you’ve achieved perfect moisture balance.
Position your orchid where it receives bright, indirect light for 10-12 hours daily. East-facing windows work beautifully, while south-facing locations may require sheer curtains to diffuse intense afternoon sun. You’ll know the light is ideal when leaves maintain a rich olive-green color—dark green indicates too little light, while reddish tinges signal too much exposure.
Hanging orchids require consistent air circulation to prevent fungal issues. A gentle ceiling fan on low or occasional misting with a fine spray creates the necessary movement. I’ve found that weekly 30-second bursts from a handheld fan effectively mimic natural breezes without stressing the plant.
Fertilize with a balanced 20-20-20 orchid formula diluted to half strength every other watering. Look for new leaf growth as your fertility indicator—healthy plants produce 1-2 new leaves per year with proper nutrition. Reduce feeding by half during winter months when growth naturally slows, resuming full strength as new flower spikes emerge in spring.
After years of trial and error with these delicate beauties, I’ve learned what truly makes the difference between struggling plants and thriving cascades of blooms.
Root Health Inspection: When selecting your orchid in Step 1, don’t just glance at the flowers—examine the roots thoroughly. I’ve found that even plants with beautiful blooms can have hidden root issues. Healthy roots should feel firm and plump, not hollow or papery. The silver-green color when dry is particularly telling; if roots stay green when dry, they’re likely retaining too much moisture from overwatering at the nursery.
Basket Preparation Technique: In Step 2, when adding that 1-inch layer of coarse bark chips, create a slight mound in the center before placing your orchid. This elevation helps prevent water from pooling around the base after those 10-minute soakings mentioned in Step 4. I also recommend adding a few charcoal chunks to the bark layer—this naturally filters impurities and keeps the medium fresher between repottings.
Mounting Wisdom: The 1/2 inch of movement allowed when securing your orchid in Step 3 isn’t just about aesthetics—it’s critical for the plant’s development. I’ve noticed that orchids allowed this gentle sway develop significantly thicker stems over time, making them more resilient to environmental stresses. Use old (clean) nylon stockings rather than new ones; the slightly stretched fabric provides just the right amount of give.
Watering Discipline: Those 5-7 day intervals in Step 4 are guidelines, not strict rules. I’ve ruined more orchids by watering on schedule than by waiting. Instead of counting days, develop the habit of checking moisture with your finger—1 inch below the moss surface should feel barely damp, like a well-wrung sponge. And always use room-temperature water; cold water shocks tropical roots, while warm water can encourage bacterial growth.
Hanging orchids dry out faster due to airflow, so water them every 5–7 days (vs. 7–10 for potted). Check the roots—silver-green means thirsty, while bright green means hydrated. Use the “ice cube trick” (3 cubes weekly) for consistent moisture without overwatering.
Aim for spring or early summer when temps stay above 55°F (13°C) at night. Avoid winter or extreme heat (above 85°F/29°C). If moving indoors later, acclimate them gradually over 1–2 weeks to prevent shock.
No! Regular mix suffocates roots. Opt for chunky orchid bark, sphagnum moss, or coconut husk chips for airflow. Add perlite or charcoal to prevent rot. Pre-made “epiphytic mixes” (labeled for orchids) work best for beginners.
Yellow leaves often signal overwatering (soggy roots), too much sun (burnt tips), or nutrient deficiency. Trim damaged leaves, adjust watering, and move to bright, indirect light. If roots look mushy, repot with fresh mix ASAP.
Try trailing peperomias, string of pearls, or lipstick plants for similar cascading beauty with less fuss. For orchid lovers, Phalaenopsis (moth orchids) thrive in hanging baskets with minimal care—just water and indirect light!
Hanging orchids can transform any space with their breathtaking, cascading blooms—and now you’ve got the know-how to make it happen! 🌸 From choosing the right varieties to mastering light, water, and support, your indoor garden is about to reach new heights (literally!).
Ready to get started? Pick your favorite trailing orchid (like Phalaenopsis or Dendrobium), gather your supplies, and let those stunning flowers spill over with elegance. Happy growing—your home (and guests!) will thank you. Which orchid will you hang first? 😊
