
Beautiful Plants For Your Interior
Beautiful Plants For Your Interior
There’s something magical about watching orchid seeds—each one smaller than a grain of dust—transform into plants that produce those breathtaking blooms. I still remember the first time I saw tiny green specks emerge from my seed flask after months of patience. This isn’t your typical weekend project, but the payoff is unlike anything else in […]
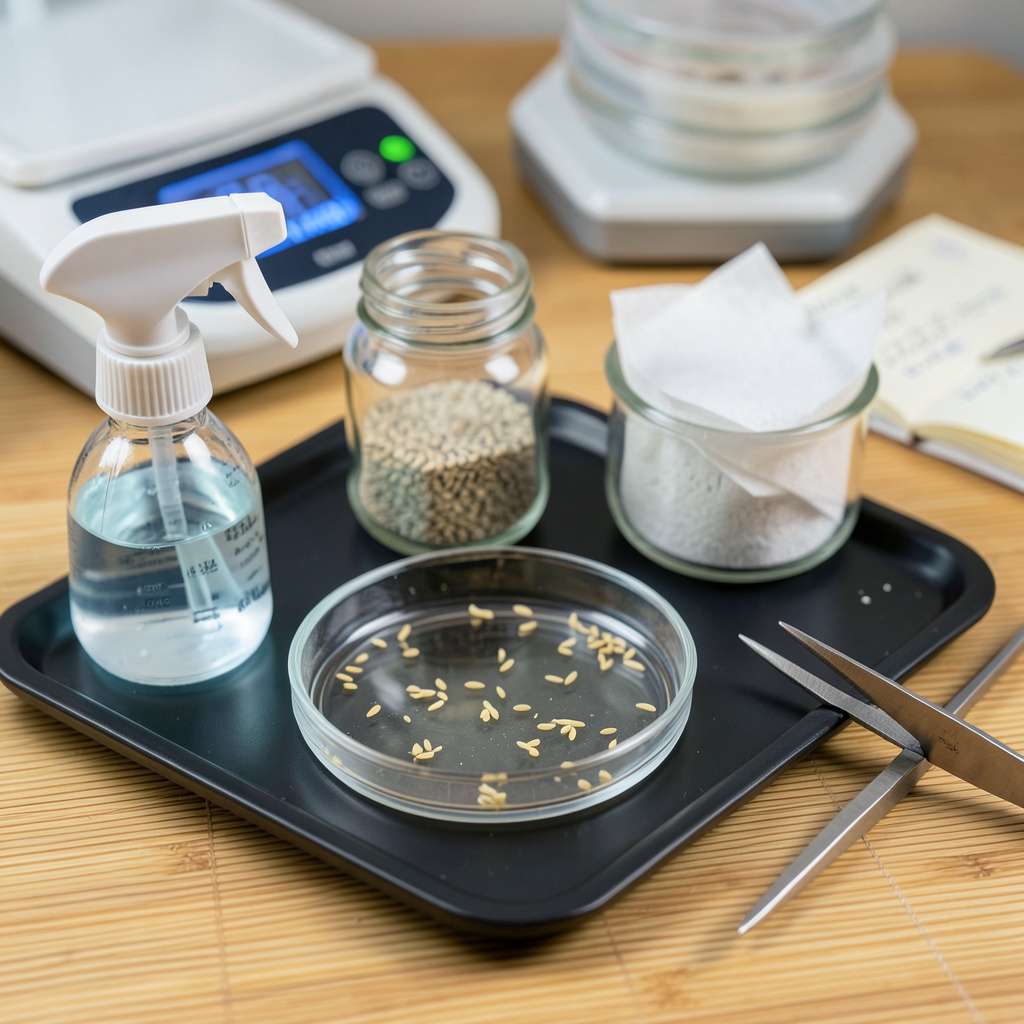
There’s something magical about watching orchid seeds—each one smaller than a grain of dust—transform into plants that produce those breathtaking blooms. I still remember the first time I saw tiny green specks emerge from my seed flask after months of patience. This isn’t your typical weekend project, but the payoff is unlike anything else in gardening.
What most people don’t realize is that orchids from seed require a completely different approach than other plants. You’re not just planting and watering—you’re creating a sterile laboratory environment at home, mimicking what happens in nature over years. The process taught me more about plant biology than any other gardening project I’ve tried.
You’ll start seeing real progress in about 3-6 months, when those microscopic seeds develop into visible protocorms. By year two, you might spot the first true leaves. And when those initial flower spikes appear—typically in year 3 or 4—you’ll understand why orchid growers get so obsessed.
Fair warning: this requires patience and attention to detail. But the moment you see your first homegrown orchid bloom—one you nurtured from a speck of dust—you’ll realize it was worth every minute. Let me walk you through exactly how to make it happen.
📚 In This Guide
This delicate process rewards patience with breathtaking results—let’s begin your orchid-growing journey the right way.
Orchid seeds are uniquely vulnerable to fungal and bacterial contamination. Begin by thoroughly cleaning all tools and containers with a 10% bleach solution (1 part bleach to 9 parts water). I use a dedicated spray bottle for this purpose, ensuring complete coverage of every surface.
Work in a draft-free area where you can maintain absolute cleanliness. Wipe down your work surface with 70% isopropyl alcohol and allow it to air dry completely. Remember, even invisible spores can devastate your seeds before they have a chance to germinate.
Orchid seeds require a specialized nutrient medium rather than traditional soil. I recommend using a agar-based orchid seed sowing medium (available from specialty suppliers), which provides both moisture retention and essential nutrients. Prepare it according to package instructions, typically involving heating to 212°F to sterilize before pouring.
Pour the sterilized medium into sterile glass jars or flasks, filling them to about one-third capacity. The containers should have loose-fitting lids to allow for gas exchange while maintaining humidity. Let the medium cool and solidify completely before proceeding—this usually takes 2-3 hours at room temperature.
Orchid seeds are dust-like and require careful handling. Open your seed packet in a sterile environment, preferably under a laminar flow hood if available. Using a sterilized inoculating loop or fine paintbrush, gently distribute the seeds across the surface of the solidified medium. The seeds should be spaced as evenly as possible without clustering.
Don’t press the seeds into the medium—they need to remain on the surface to access light and air. After sowing, mist the surface lightly with sterile water to help the seeds settle. Seal the containers with their lids, but don’t tighten completely—orchid seeds need consistent airflow during germination.
Place your sealed containers in a warm location with consistent temperatures between 70-75°F. I use a seedling heat mat with a thermostat to maintain this precise range. Provide 12-14 hours of bright, indirect light daily—a full-spectrum LED grow light positioned 6-8 inches above the containers works perfectly.
Check the containers weekly for condensation. If excessive moisture accumulates, briefly open the lids to allow fresh air exchange. Germination can take anywhere from 3-12 months depending on the orchid species. You’ll know it’s working when you see tiny green protuberances emerging from the seeds—these are the first signs of your future orchid plants.
Once your seedlings develop 2-3 true leaves and visible roots (typically after 6-12 months), they’re ready for transplanting. Carefully remove them from the germination medium using sterilized tweezers. Prepare small pots with a fine-grade orchid bark mix, ensuring excellent drainage.
Plant each seedling just deep enough to cover the roots, leaving the leaves exposed. Mist lightly and place in a humid environment with 50-70% humidity and bright, indirect light. Maintain temperatures between 65-80°F during the day and a 10°F drop at night to encourage healthy growth. Your patience will be rewarded as these delicate seedlings mature into stunning orchid plants over the coming years.
This delicate process requires precision, but these insights will help you avoid the most common pitfalls while nurturing your orchid seeds to success.
Sterilization Protocol: The 10% bleach solution in Step 1 isn’t just a suggestion—it’s your first line of defense against contamination. I’ve learned through experience that even a single missed spot can introduce mold. After applying the bleach solution, let it sit for at least 5 minutes before wiping down with 70% isopropyl alcohol. This two-step process eliminates both bacterial and fungal spores that could devastate your seeds before germination even begins.
Medium Preparation: When heating your agar-based medium to 212°F in Step 2, use a candy thermometer for precision. The medium must reach this exact temperature to ensure complete sterilization, but don’t let it boil over. Pouring at the correct temperature prevents premature solidification in your containers. I’ve found that filling jars to exactly one-third capacity leaves optimal space for airflow while maintaining necessary humidity levels during the 2-3 hour cooling period.
Environmental Control: The 70-75°F temperature range in Step 4 is critical for germination success. I recommend using a digital thermostat with your seedling heat mat to maintain this precise range. Even small fluctuations can significantly delay germination. Position your full-spectrum LED grow light exactly 6-8 inches above the containers—this distance provides the perfect intensity of bright, indirect light for 12-14 hours daily without risking heat damage to the delicate seeds.
Patience and Observation: During the 3-12 month germination period, resist the urge to check your containers too frequently. Weekly inspections are sufficient. Look for tiny green protuberances as your first sign of success. If you notice excessive condensation, briefly open the lids for just 30-60 seconds to allow air exchange without disrupting the humidity balance. This simple step has saved many of my batches from fungal issues during the long germination process.
Curious about growing orchids from seed? Here are the most common questions—answered!
Orchid seeds can take 3–12 months to germinate in sterile lab-like conditions (like agar). Once sprouted, expect 2–5 years before your first blooms—patience is key! Speed varies by species, with Phalaenopsis often faster than Cattleya.
Technically yes, but success rates plummet. Orchid seeds lack nutrients and need symbiotic fungi (found in nature) or sterile agar to survive. For beginners, try flasking (pre-germinated seeds) or keiki propagation instead for easier results!
Common culprits: contamination (bacteria/fungi in your setup), wrong temperature (aim for 70–80°F), or old/viable seeds. Check your sterilization process and light conditions—seeds need indirect light, not darkness or direct sun.
Start with Phalaenopsis (moth orchids) or Dendrobium—they’re more forgiving for beginners. Avoid rare species like Vanda or Cymbidium until you’ve mastered sterile techniques. Pro tip: Buy pre-sterilized seeds to skip tricky prep!
No! Seedlings need airy, moisture-retentive media like sphagnum moss or fine bark mix—never dense soil. Adult orchids thrive in chunky mixes, but seedlings drown easily. Repot carefully as they grow!
Growing orchids from seed is a rewarding journey that blends patience with the joy of nurturing life from tiny beginnings. With the right tools, sterile techniques, and consistent care, you can transform microscopic seeds into breathtaking blooms—right in your home! 🌱✨
Don’t be discouraged by the slow progress; every sprout is a victory. Ready to take the next step? Start by gathering your supplies and experimenting with a beginner-friendly species like Phalaenopsis. Happy growing—your future orchid masterpiece awaits! 🌸
