
Beautiful Plants For Your Interior
Beautiful Plants For Your Interior
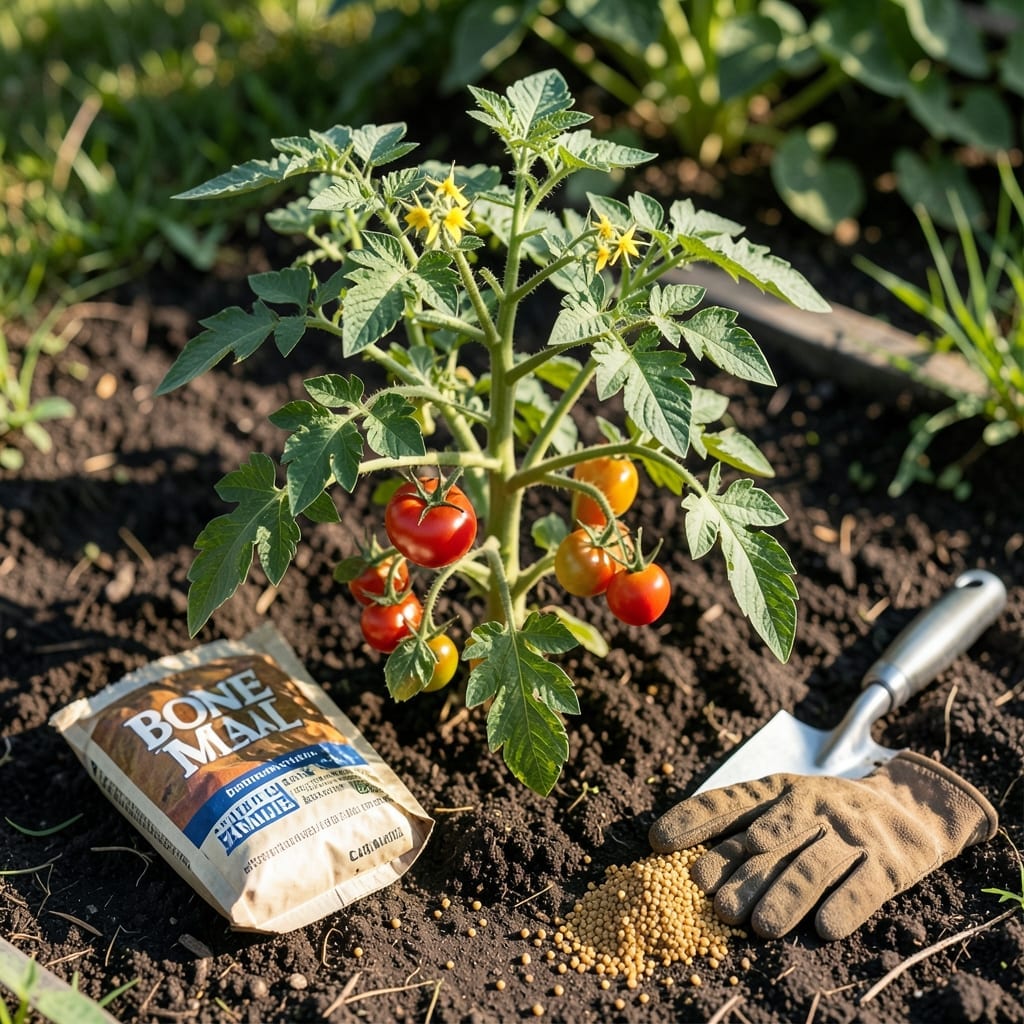
If you’ve ever wondered why gardeners swear by Bone Meal 🌱 for blooming plants, the secret lies in its unique composition. Those three little numbers on the bag hold the key to unlocking your garden’s full potential.
I remember the first time I saw my roses explode with color after using it – the difference was undeniable. The phosphorus boost in this natural fertilizer works wonders for root development and flower production.
But what do those NPK values actually mean for your plants? Understanding this simple code can transform how you nourish your garden, leading to healthier growth and more vibrant blooms.
Let me break down exactly how to harness this power for your own garden success. You’ll be amazed at what a difference the right knowledge can make.
I’ve found that bone meal is a powerhouse for root development and flowering plants. Its NPK ratio typically reads 3-15-0, meaning it’s packed with phosphorus to boost blooms and strengthen roots. This makes it ideal for bulbs, roses, and tomatoes in my garden. 🌱
Unlike synthetic fertilizers, bone meal releases nutrients slowly, providing a steady feed for months. The 3% nitrogen helps with leaf growth, while the 15% phosphorus is the star for fruit and flower production. The 0% potassium means you’ll need to supplement if your soil lacks it. 🌿
| Nutrient | Percentage | Primary Benefit |
|---|---|---|
| Nitrogen (N) | 3% | Leaf and stem growth |
| Phosphorus (P) | 15% | Root and flower development |
| Potassium (K) | 0% | None (supplement needed) |
I use bone meal at planting time to give new transplants a strong start. The phosphorus boost encourages deep root systems, which helps plants establish quickly. For perennials, I mix it into the soil in early spring or fall for best results. 🌻
What sets bone meal apart is its organic nature. It’s made from ground animal bones, so it’s safe for organic gardening. It also improves soil structure over time, which I’ve noticed makes my clay-heavy soil more workable. ✂️
For vegetable gardens, I’ve seen tomatoes and peppers thrive with a bone meal application. The extra phosphorus supports fruit set and reduces blossom end rot. Just remember, it’s not a complete fertilizer—pair it with compost for balanced nutrition. 🌷
One thing I’ve learned is that bone meal works best in acidic soils. If your soil is alkaline, the phosphorus may not be as available. A soil test can help you determine if bone meal is the right choice for your garden. 💧
I also love that bone meal is long-lasting. A single application can feed plants for several months, reducing the need for frequent fertilizing. This makes it a low-maintenance option for busy gardeners like me. ☀️
If you’re growing bulbs like tulips or daffodils, bone meal is a must. The high phosphorus content promotes big, vibrant blooms year after year. I always mix it into the planting hole for the best results. 🌳
Finally, bone meal is a cost-effective way to improve your garden’s productivity. A little goes a long way, and it’s widely available at garden centers. Just follow the application rates to avoid over-fertilizing. 🌿
I’ve found that bone meal works wonders when applied at planting time or during early growth stages. Its high phosphorus content promotes strong root development, which is essential for healthy plants.
For best results, I mix 1-2 tablespoons of bone meal into the soil at the base of each plant. This ensures the nutrients are right where the roots need them most.
I always recommend using bone meal for flowering plants like roses, tomatoes, and bulbs. These plants thrive on the extra phosphorus boost for vibrant blooms and fruit production.
Timing matters too. I apply bone meal in early spring for spring planting and again in early fall to help perennials establish strong roots before winter sets in.
One common mistake I see is over-applying bone meal. Stick to the recommended dosage to avoid nutrient burn or imbalances in your soil. It’s a slow-release fertilizer, so patience is key.
Finally, I love that bone meal is an organic fertilizer option. It’s safe for most plants and improves soil health over time, making it a staple in my gardening routine
🌱