
Beautiful Plants For Your Interior
Beautiful Plants For Your Interior
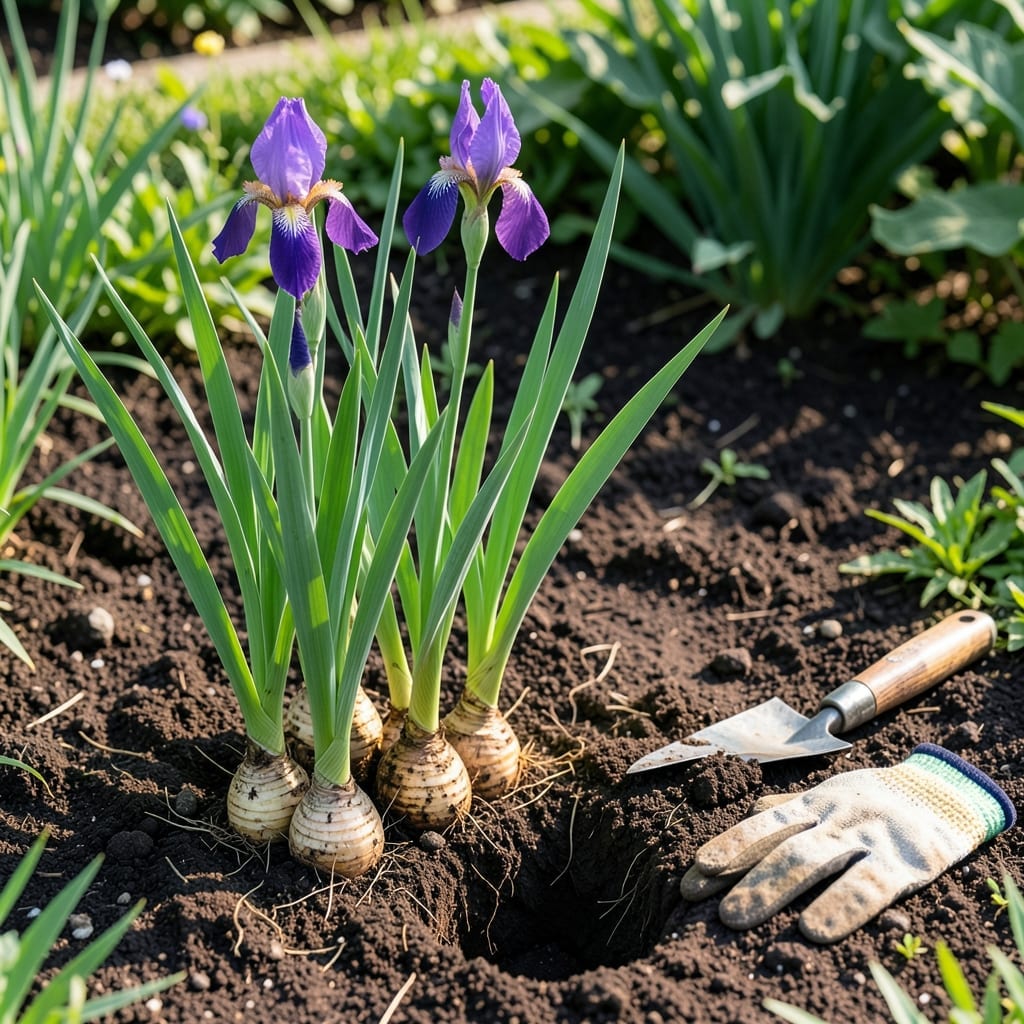
Moving your Iris at the wrong time can mean the difference between thriving blooms and a struggling plant. I’ve seen gardeners make this mistake too often, but the solution is simpler than you think.
Timing is everything when it comes to transplanting these hardy perennials. The right season ensures strong roots and vibrant flowers next year, while the wrong move can set them back.
Let me show you exactly when to make the switch and how to do it without stressing your 🌸 Iris. The results will speak for themselves.


Timing your iris transplant correctly can make or break next year’s blooms. I’ve learned that moving these perennials during active growth often leads to stress and poor flowering.
The ideal window is late summer to early fall, typically 6-8 weeks before your first frost. This gives roots time to establish before winter dormancy.
Best Time to Transplant Iris
| Timing Factor | Recommendation |
|---|---|
| Best Months | August-September |
| Alternative Months | July, October |
| Frost Timeline | 6-8 weeks before |
| USDA Zone | Zones 3-9 |
In warmer climates like USDA Zone 8-9, you can push transplanting into October. But in Zone 3-5, aim for August to ensure roots settle before cold hits.
Watch for visual cues too. When foliage yellows or rhizomes become crowded, it’s nature’s signal that your iris are ready for a new home.
Avoid spring transplanting unless absolutely necessary. Moving iris during blooming season can disrupt flower production and stress the plant significantly.
I always check the weather forecast before transplanting. A stretch of mild, overcast days is perfect for reducing transplant shock and helping roots adjust.
For bearded iris, the timing is especially critical. These varieties need that fall window to store energy for next year’s spectacular spring display.
If you must transplant in spring, do it immediately after blooming. This minimizes disruption to the plant’s growth cycle and gives it a fighting chance.
Remember, soil temperature matters as much as air temperature. Aim for 60-70°F soil to encourage rapid root establishment after transplanting.
With the right timing, your iris will reward you with bigger blooms and healthier growth next season 🌸
Transplanting iris plants properly ensures they thrive in their new location. I always start by preparing the soil with well-draining compost to give roots the best start possible.
First, dig up the clump carefully with a garden fork, making sure to keep the rhizomes intact. This prevents unnecessary stress to the plant.
How to Transplant Iris
When dividing, I look for healthy rhizomes with firm texture and no soft spots. Discard any that show signs of rot or disease to prevent spreading issues.
Spacing is crucial for air circulation. I plant bearded iris about 12-24 inches apart, depending on the variety. This gives them room to grow without competing for nutrients.
Planting depth is often overlooked. Iris rhizomes should be partially exposed to sunlight. Burying them too deep can lead to rot and poor blooming.
After transplanting, I water thoroughly to settle the soil and eliminate air pockets. Then I reduce watering for a week to let roots establish without sitting in soggy conditions.
With this method, your iris will establish quickly and reward you with stunning blooms next season ✂️