
Beautiful Plants For Your Interior
Beautiful Plants For Your Interior
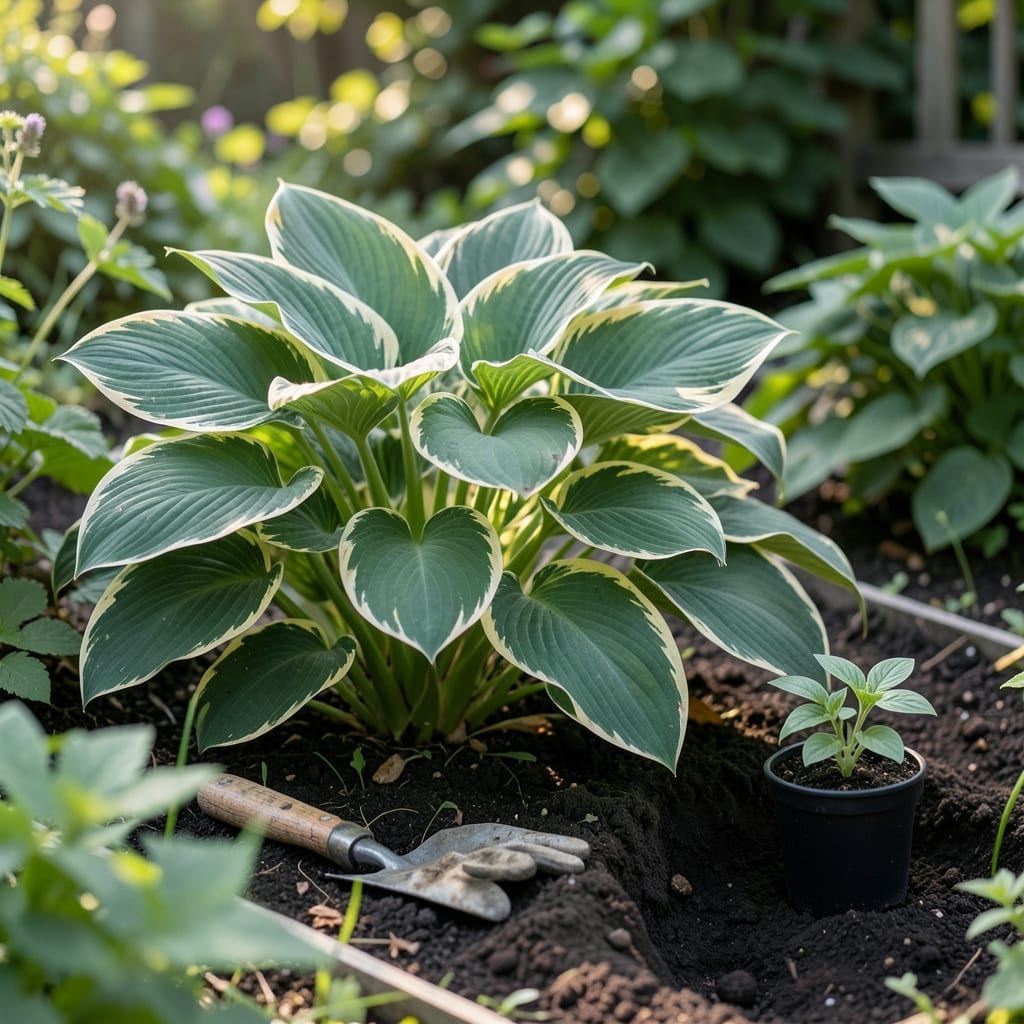
Moving your 🌿 Hostas at the wrong time can leave them struggling to recover. These shade-loving perennials need careful timing to thrive in their new spot.
I’ve learned that spring and fall offer the best windows for minimal shock. The key is working with the plant’s natural growth cycles.
Discover how to pick the perfect moment and give your Hostas the strongest start in their new home. Let me show you exactly when to make the move.


I always recommend early spring or early fall as the best times to transplant hostas. These periods align with the plant’s natural dormant phases, reducing stress significantly.
In spring, aim for March to April, just as the soil begins to warm but before new growth appears. This gives roots time to establish before summer heat.
| Season | Ideal Months | Temperature Range | Soil Conditions | Recovery Time |
|---|---|---|---|---|
| Spring | March-April | 40-60°F | Moist, warming | 4-6 weeks |
| Fall | September-October | 50-70°F | Cool, stable | 3-5 weeks |
Fall transplanting works best in September to October, at least 4-6 weeks before the first frost. This allows roots to settle in before winter dormancy.
Soil temperature is critical. In spring, wait until the soil reaches 45°F at a 4-inch depth. In fall, ensure soil stays above 50°F for root growth.
I’ve noticed morning planting reduces stress. The cooler temperatures and lower sun intensity help hostas adjust without heat shock.
Cloudy days are perfect for transplanting. If the forecast calls for sun, I create temporary shade with a burlap screen for the first week.
For container-grown hostas, timing is more flexible. You can transplant anytime during the growing season, but avoid extreme heat or cold snaps.
In warmer climates (USDA zones 7-9), late fall transplanting works well. The milder winters give roots more time to establish before spring.
Always water deeply the day before transplanting. This ensures the root ball stays intact and reduces shock. I use a sharp spade to cut a wide circle around the plant.
After moving, keep soil consistently moist for 2-3 weeks. This is critical for root establishment and prevents wilting 🌿
I’ve found that proper preparation makes all the difference when moving hostas. Start by watering deeply the day before to keep the root ball intact during the move.
Use a sharp spade to dig a wide circle around the plant, at least 6-8 inches out from the base. This ensures you capture most of the root system.
After transplanting, keep soil consistently moist for 2-3 weeks. This is critical for root establishment and prevents wilting during recovery.
I always mulch immediately with 2-3 inches of organic material. This reduces evaporation and keeps soil temperature stable around the roots.
For the first week, provide temporary shade if the weather is sunny. A burlap screen or shade cloth works perfectly to minimize stress.
Monitor closely for signs of stress like yellowing leaves or drooping foliage. If you notice these, water deeply and ensure the plant isn’t in direct afternoon sun 🌿