
Beautiful Plants For Your Interior
Beautiful Plants For Your Interior
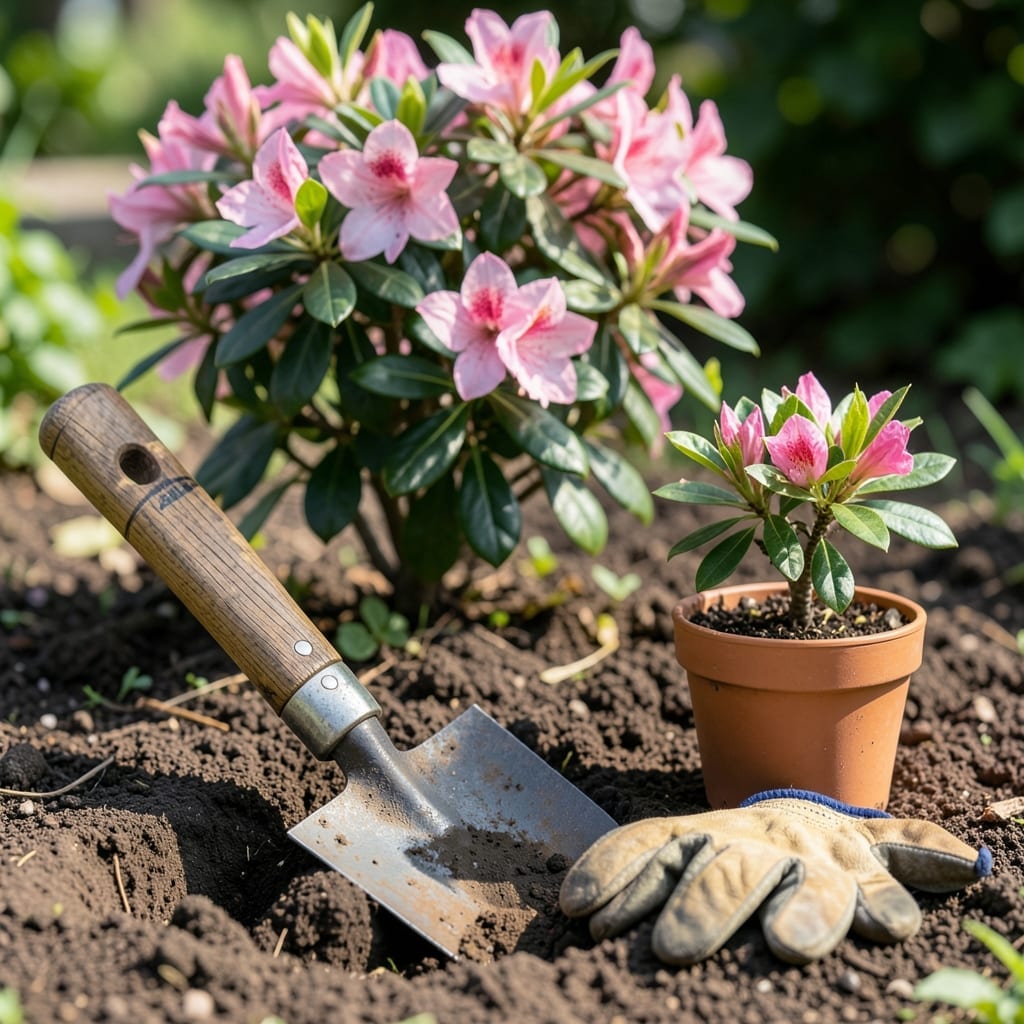
Transplanting azaleas at the wrong time can shock these delicate shrubs, but choosing the optimal season ensures vibrant 🌸 blooms for years to come.
I’ve learned that timing is everything when moving these beautiful plants. The key is working with their natural growth cycle, not against it.
Discover when to make your move for the best results and how to give your azaleas the strongest start in their new home.


I’ve found that early spring and fall are the best times to transplant azaleas. These seasons align with the plant’s dormant periods, reducing stress and shock. 🌸
The ideal window is after blooming in spring or before the first frost in fall. This gives roots time to establish before extreme temperatures hit.
| Season | Timing | Why It Works |
|---|---|---|
| Early Spring | March-April | New growth begins; cool temps reduce stress |
| Fall | September-October | Soil stays warm; roots establish before winter |
In early spring, transplant after the last frost but before new buds form. This timing helps azaleas recover quickly as they enter their growth phase.
Fall transplanting is often my top choice because the soil remains warm, encouraging root growth while the air cools. This gives azaleas a head start before dormancy.
Avoid summer—the heat stresses plants, and winter frosts can damage fragile new roots. Even in mild climates, these seasons are risky for azaleas.
For warmer climates (Zones 8-10), late fall or early winter can work, as frost is rare. But in colder zones (4-6), stick to spring or early fall.
If you miss the ideal window, late fall or early spring are your next best options. Just avoid transplanting during active blooming or extreme weather.
I always check the weather forecast for a 10-day stretch of mild temperatures. This stability helps azaleas settle in without additional stress. 🌿
Remember, azaleas have shallow roots, so handle them gently. The right timing paired with careful technique ensures your shrubs thrive in their new spot.
I always start by preparing the new hole before digging up the azalea. It should be twice as wide and just as deep as the root ball. This ensures the roots have plenty of space to spread out.
Next, I carefully dig around the azalea, keeping a generous root ball intact. Azaleas have shallow roots, so I use a sharp spade to minimize damage. 🌿
After planting, I water thoroughly to settle the soil and eliminate air pockets. Then I add a layer of mulch to help retain moisture and protect the roots from temperature swings.
For the first few weeks, I check the soil moisture daily. Azaleas need consistent moisture during this critical period, but I avoid overwatering to prevent root rot.
I also avoid fertilizing immediately after transplanting. Instead, I wait 4-6 weeks to let the roots establish. Then I apply a balanced fertilizer to support new growth.
Finally, I monitor the plant for signs of stress like wilting or yellowing leaves. If I notice these, I adjust my care routine to help the azalea recover. ✂️