
Beautiful Plants For Your Interior
Beautiful Plants For Your Interior
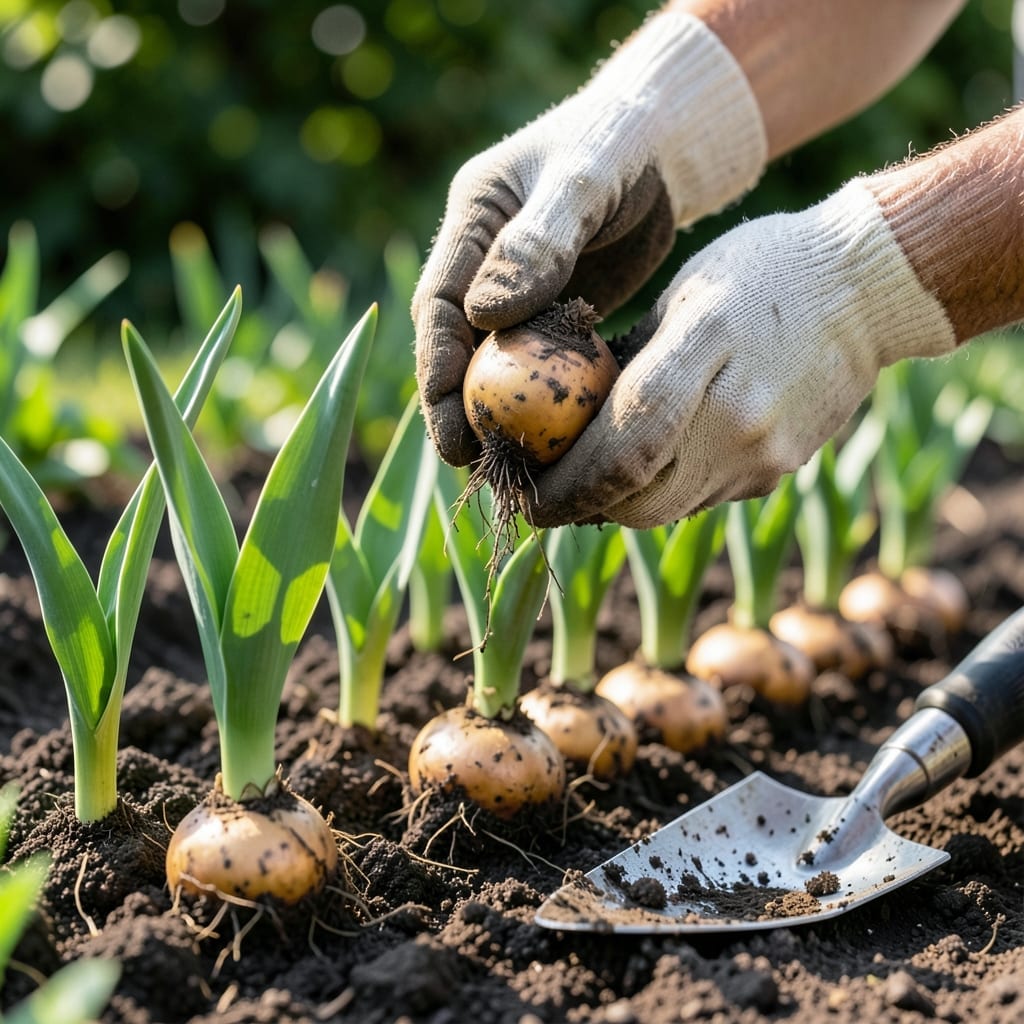
Timing is everything when planting 🌷Tulip bulbs. Get it right, and you’ll enjoy a vibrant spring display that turns heads.
Plant too early or late, and you risk weak growth or no flowers at all. The secret lies in the fall season, giving roots time to establish before winter.
I’ll show you the best window for zones 3-8 and how to nail the timing every time. Let’s dig in.
If you want vibrant tulip blooms in spring, timing your planting is crucial. The ideal window is in fall, when soil temperatures drop below 60°F. This gives bulbs time to establish roots before winter.
Across USDA zones 3-8, the planting window varies slightly. Cooler zones like 3-4 plant earlier, while warmer zones like 7-8 can wait a bit longer. The key is 6-8 weeks before the first hard frost.
| Zone | Planting Window | Soil Temp |
|---|---|---|
| 3-4 | September – early October | Below 60°F |
| 5-6 | Mid October – November | Below 60°F |
| 7-8 | Late October – December | Below 60°F |
In zone 3-4, I aim for late September to early October. The soil cools quickly here, so early planting ensures root development before the ground freezes. This timing prevents bulbs from sprouting prematurely.
For zone 5-6, mid October through November works best. The soil stays warmer longer, so I wait until temperatures drop consistently. This ensures bulbs don’t rot from excessive moisture or heat.
Gardeners in zone 7-8 can plant as late as December. The milder winters here allow for a longer window. However, I always check soil temps—below 60°F is non-negotiable for root growth.
If you’re unsure about your zone, a soil thermometer is your best friend. I use mine to confirm temps before planting. It’s a small investment that prevents costly mistakes like rotten bulbs or poor blooms.
Remember, tulips need well-draining soil to thrive. If your garden has heavy clay, consider amending it with compost or planting in raised beds. This improves drainage and prevents waterlogging.
Finally, mark your calendar for 6-8 weeks before your area’s first hard frost. This rule of thumb works for most climates and ensures your tulips get the root establishment period they need for a stunning spring show.
With these timing tips, you’ll set your tulips up for success and enjoy a garden bursting with color when spring arrives 🌷
Planting tulip bulbs correctly in fall ensures a spectacular spring display. I always start by selecting healthy bulbs that feel firm to the touch, with no signs of mold or soft spots.
First, prepare your planting site by loosening the soil to 12 inches deep and mixing in compost for better drainage. Tulips thrive in well-draining soil, so this step is non-negotiable.
I use a trowel or bulb planter to dig holes 6-8 inches deep. This depth protects bulbs from freezing temps while allowing roots to establish. Planting too shallow can lead to frost damage or weak stems.
Spacing is equally important. I place bulbs 4-6 inches apart, which gives each plant enough room to grow without competing for nutrients. For a natural look, I sometimes scatter bulbs and plant them where they land.
After planting, I water the area thoroughly to help settle the soil and remove air pockets. Then, I add a 2-3 inch layer of mulch, like straw or shredded leaves, to insulate the soil and retain moisture.
Finally, I mark the planting area with garden stakes or labels. This prevents accidental digging in the spot during winter or early spring. With these steps, your tulips will be well on their way to a stunning spring show 🌷