
Beautiful Plants For Your Interior
Beautiful Plants For Your Interior
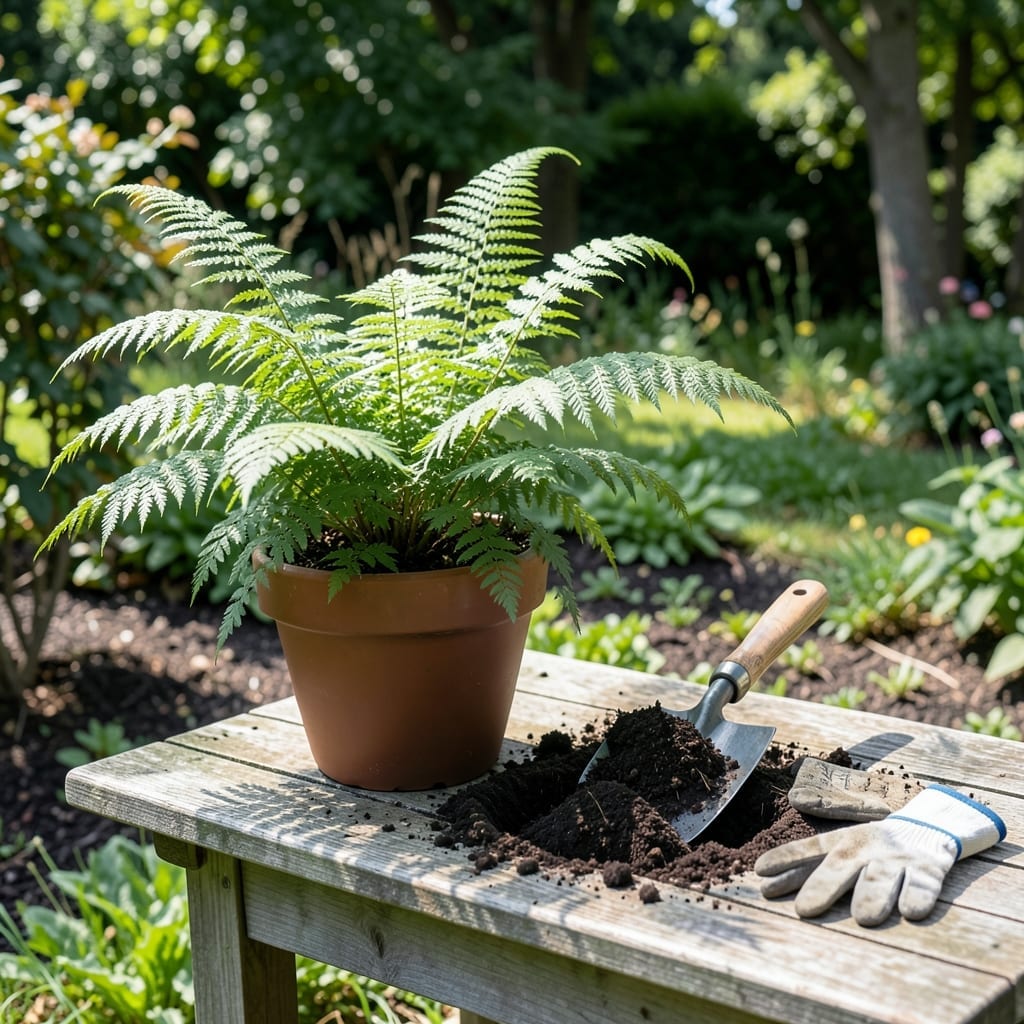
Moving Fern 🌿 at the wrong time can set back these delicate plants for months. I learned this the hard way after losing a few to transplant shock.
Timing is the key to success. The right conditions reduce stress and help your ferns establish quickly in their new home.
Discover when to make the move and how to prepare for a smooth transition that keeps your plants thriving.
I’ve found that early spring and early fall are the ideal windows for moving ferns. These seasons offer cool temperatures and moderate moisture, reducing transplant shock significantly.
In spring, aim for March or April, before new fronds emerge. This gives roots time to establish before summer heat arrives.
| Season | Ideal Months | Key Conditions |
|---|---|---|
| Spring | March, April | Cool temps, moist soil |
| Fall | September, October | Mild weather, high humidity |
Fall transplanting works best in September or October. The soil stays warm, encouraging root growth while air temps are cool.
Avoid summer moves—heat stress and dry soil make recovery difficult. Winter is equally risky due to frozen ground and dormancy.
I always check the weather forecast before moving ferns. A stretch of cloudy, mild days is perfect for reducing stress on the plants.
Soil moisture is critical. Water deeply 2-3 days before transplanting to ensure the root ball stays intact during the move.
For container-grown ferns, the rules are similar. Spring and fall still win, but you can cheat slightly with protected locations and consistent care.
I’ve noticed ferns recover fastest when moved to a spot with similar light conditions. If they thrived in shade before, don’t place them in full sun afterward.
Post-transplant care matters just as much as timing. Keep soil evenly moist (not soggy) for 4-6 weeks while roots settle in.
Finally, resist the urge to fertilize immediately. Wait 2-3 weeks after moving to avoid burning tender new roots with nutrients.
With the right timing and care, your ferns will reward you with lush, vibrant fronds in their new home 🌿
I always start by preparing the new site before touching the fern. Dig a hole twice as wide as the root ball and mix in compost for a nutrient boost.
Gently loosen the soil around the fern with a trowel, working in a wide circle to preserve as many roots as possible. The goal is to keep the root system intact.
Use a sharp spade to lift the fern from below, keeping the root ball as large as possible. If the plant resists, widen your circle—patience prevents damage.
Place the fern in its new home at the same depth it was growing before. Too deep can suffocate the crown, while too shallow exposes roots to drying out.
After planting, water slowly until the soil is thoroughly moist. This helps settle the soil and eliminates air pockets around the roots.
For the first week, check soil moisture daily. Ferns need consistent hydration to recover, but avoid waterlogging which can cause root rot.
With this method, I’ve moved dozens of ferns with near-zero shock and vibrant new growth within weeks 🌿