
Beautiful Plants For Your Interior
Beautiful Plants For Your Interior
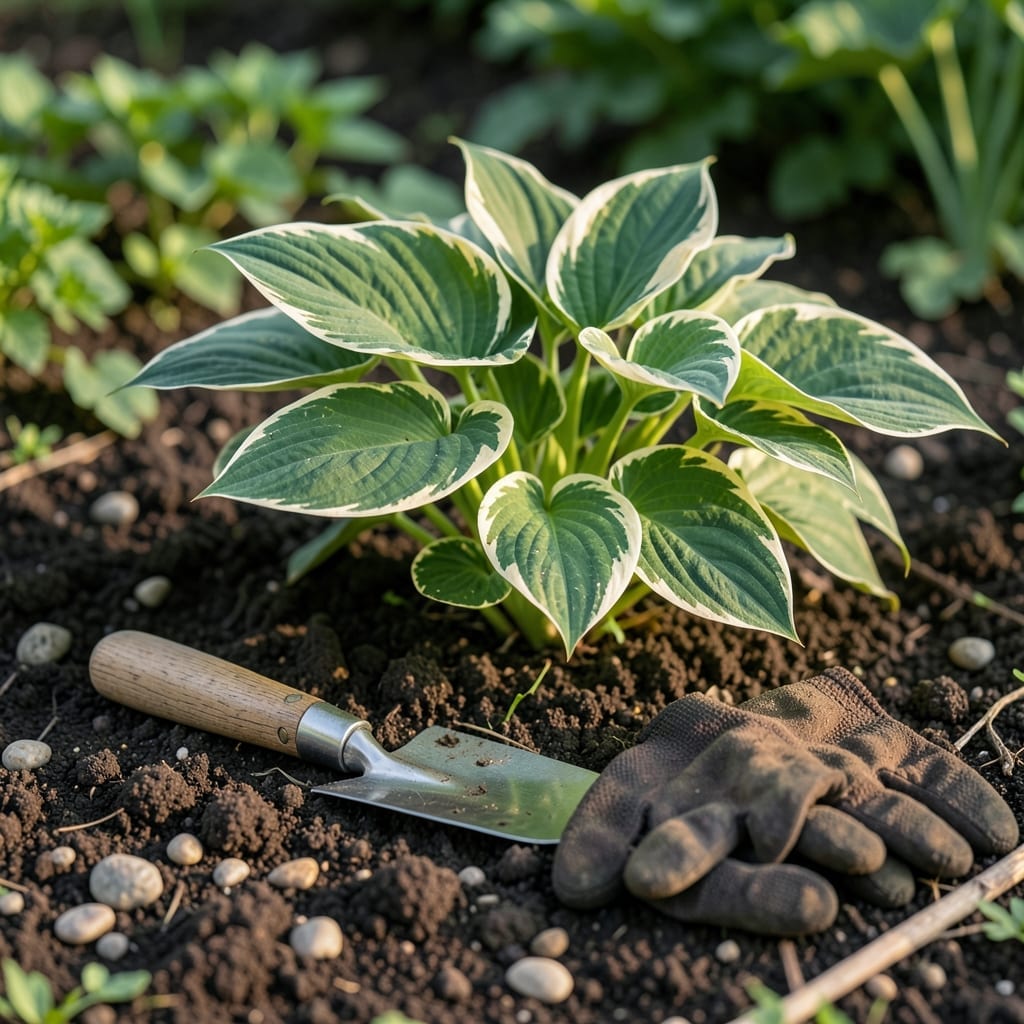
Transplanting hostas at the right time can make or break their success in your garden. Get it wrong, and you might face stunted growth or even lose these shade-loving beauties.
I’ve learned the hard way that timing is everything when moving 🌿 Hostas. The difference between thriving plants and struggling ones often comes down to when you decide to relocate them.
In this guide, I’ll share the most effective seasons for transplanting and why they work so well. You’ll discover how to give your hostas the best start in their new home.
Whether you’re a beginner or a seasoned gardener, these tips will help you avoid common pitfalls and ensure your hostas flourish year after year.


I’ve found that spring and fall are the optimal seasons for transplanting hostas. These periods offer the best conditions for root establishment and minimal stress on the plants. In spring, the soil warms up, encouraging new root growth before summer heat arrives.
Fall is equally ideal because cooler temperatures and consistent moisture help hostas recover. The plants can focus on root development without the stress of intense sunlight or drought conditions. This timing ensures they’re ready for winter.
| Season | Advantages | Best Months |
|---|---|---|
| Spring | Warm soil, new growth starts | March-April |
| Fall | Cool temps, less stress | September-October |
In USDA Zone 6, I recommend transplanting early spring or early fall. This gives hostas 4-6 weeks to establish before extreme weather hits. For warmer zones, you can push transplanting into late fall as long as the ground isn’t frozen.
If you’re in a colder climate, aim to finish transplanting by mid-September. This ensures root systems have time to settle before the first frost. Hostas transplanted too late may struggle to survive winter.
For container-grown hostas, the rules are slightly different. You can transplant them anytime during the growing season, but spring and fall still provide the least stress. Always water thoroughly after moving them.
I’ve noticed that morning transplanting reduces heat stress on the plants. The cooler part of the day helps them adjust more smoothly. Also, overcast days are perfect for this task—they prevent excessive transpiration.
Avoid transplanting during summer heatwaves or drought conditions. The stress can be too much for hostas, leading to wilted leaves or stunted growth. If you must move them in summer, do it on a cloudy day and keep the soil moist.
After transplanting, I always mulch around the base of the hosta. This helps retain moisture and regulate soil temperature. Use organic mulch like shredded bark or compost for the best results.
Finally, remember that hostas are tough but not invincible. By choosing the right time of year and providing proper aftercare, you’ll give them the best chance to thrive in their new home. 🌿
Transplanting hostas successfully starts with preparing the new site before you even touch the plant. I always dig the new hole twice as wide as the root ball and just as deep to give roots room to spread.
Gently dig up your hosta with a sharp spade, keeping as much of the root ball intact as possible. This minimizes stress and helps the plant adjust faster in its new location.
Steps to Transplant Hostas:
After planting, give your hosta a deep watering to settle the soil and eliminate air pockets. I recommend watering daily for the first week, then tapering off as the plant establishes.
Mulching is crucial—apply a 2-3 inch layer of organic mulch around the base to retain moisture and regulate soil temperature. Just keep it away from the crown to prevent rot.
For the first month, monitor your hosta closely for signs of transplant shock like wilting or yellowing leaves. If this happens, increase watering slightly and provide temporary shade if needed.
With proper care, your hosta should show new growth within 3-4 weeks, signaling it has successfully adapted to its new home 🌿