
Beautiful Plants For Your Interior
Beautiful Plants For Your Interior
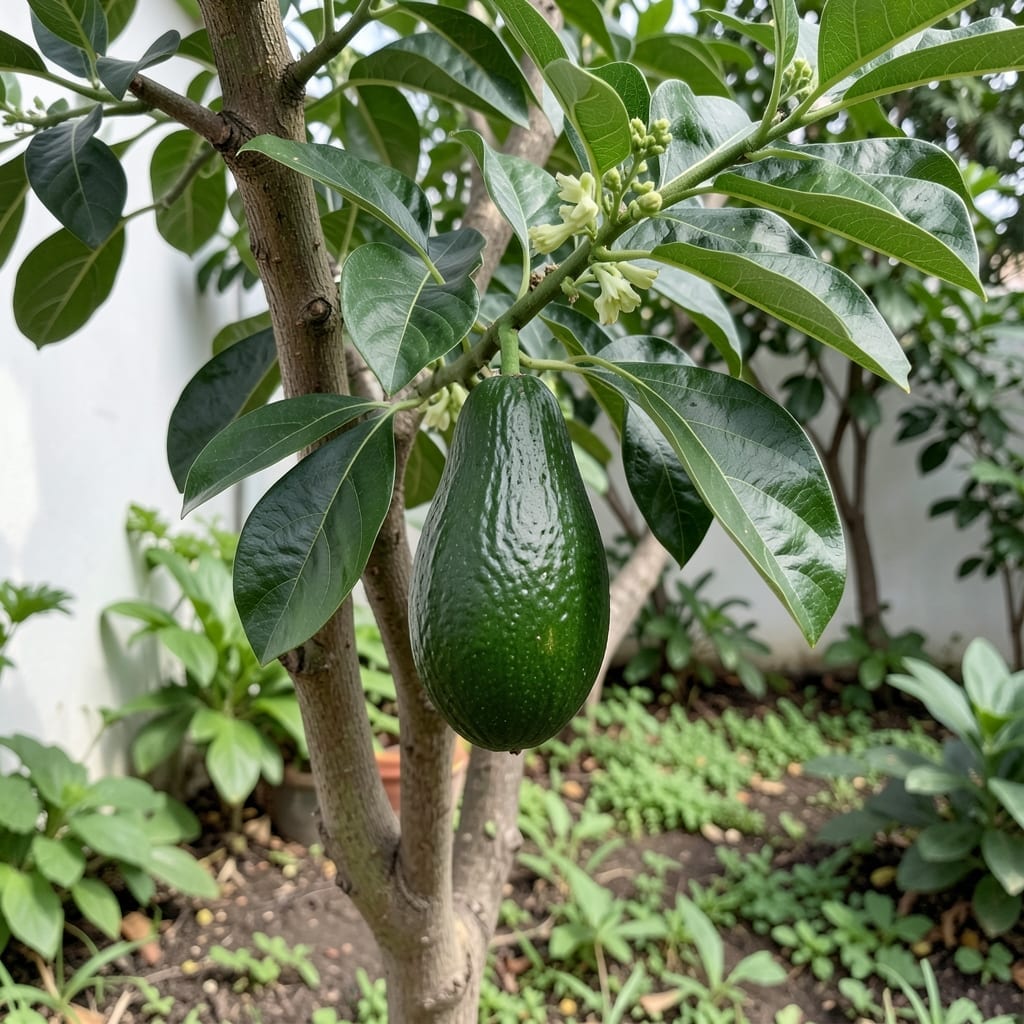
Nothing ruins a perfect guacamole faster than cutting into an unripe 🥑 Avocado. We’ve all been there – that moment of disappointment when your knife meets rock-hard fruit.
But what if I told you there’s a simple way to check ripeness without even touching the fruit? The stem method is a game-changer for both store-bought and homegrown Avocados.
I’ll show you exactly how to use this easy technique to determine if your Avocado is ready. No more guessing games or wasted fruit.
Discover how to master this trick and enjoy perfectly ripe Avocados every time. Your taste buds will thank you.
The avocado stem method is my go-to for checking ripeness because it’s fast and reliable. Unlike other techniques, this one won’t damage the fruit or leave marks.
I always start by examining the stem cap at the top of the avocado. This tiny button holds the key to determining if your fruit is ready to pick or eat.
If the stem base is brown, your avocado is ripe and ready to enjoy. This color change happens as the fruit matures and develops its rich, creamy texture.
When the stem is green underneath, the avocado needs more time. I’ve found this is especially common with homegrown avocados that haven’t fully matured on the tree.
A yellow stem base means the fruit may be overripe or starting to spoil. This is a sign to use the avocado quickly or avoid it altogether.
For homegrown avocados, the stem method works best when checking fruit still on the tree. I recommend testing a few to get a sense of the ripening timeline for your specific variety.
Remember, the stem method is non-destructive. Unlike the squeeze test, you won’t leave finger marks or damage the fruit. This makes it ideal for checking multiple avocados at once.
I’ve used this technique for years with my Hass avocado trees, and it’s never let me down. It’s particularly useful during harvest season when I’m picking fruit at different stages of ripeness. 🌳
When it comes to checking avocado ripeness, the stem method isn’t the only game in town. I’ve tested multiple techniques over the years, and each has its own strengths. The stem trick is my go-to for homegrown fruit, but it’s good to know the alternatives.
Some gardeners swear by the squeeze test, while others prefer the shake test. Even the color check has its loyal followers. Let’s break down how each method stacks up against the stem approach.
| Method | Pros | Cons |
|---|---|---|
| Stem Method | Most accurate, no fruit damage | Requires removing stem cap |
| Squeeze Test | Quick and easy | Can bruise fruit, subjective |
| Shake Test | Good for whole fruit | Less reliable, needs practice |
| Color Check | Visual and simple | Varies by avocado variety |
The stem method wins for precision, especially with homegrown avocados. It reveals the true ripeness under that little cap. But I’ll admit, the squeeze test is handy when you’re in a hurry at the market.
For Hass avocados, the color change from green to purplish-black is a dead giveaway. But this doesn’t work for all varieties like Fuerte or Bacon, which stay green when ripe.
The shake test works by listening for the pit rattling inside. It’s more of an art than a science, but with practice, you can get pretty good at it. Still, I always double-check with the stem for my garden harvests.
At the end of the day, combining methods gives you the best results. I like to use the stem as my primary check, then confirm with a gentle squeeze. This way, I never end up with a rock-hard avocado again 🌱