
Beautiful Plants For Your Interior
Beautiful Plants For Your Interior
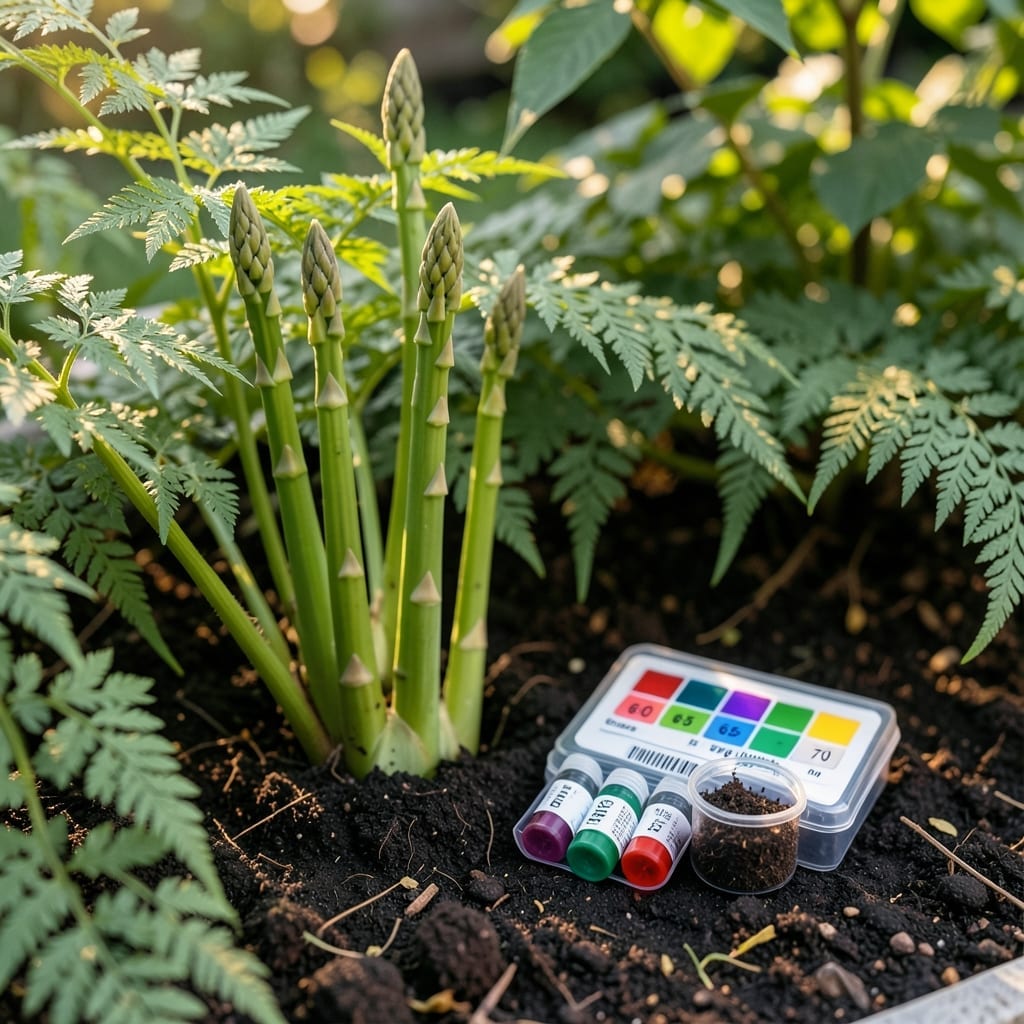
Growing asparagus successfully starts with the soil—get the pH wrong, and you’ll struggle with stunted spears and poor yields. The 🥬 asparagus plant thrives when its roots can access the right nutrients.
That access depends entirely on your soil’s acidity or alkalinity. Too high or too low, and your plants can’t absorb what they need, no matter how rich your dirt is.
I’ve seen gardens transform from sparse to bountiful just by adjusting this one factor. It’s the key to unlocking years of thriving harvests from your asparagus bed.
Discover how to test, interpret, and perfect your soil’s pH for a flourishing crop. Let’s get your asparagus the foundation it deserves.
Getting the soil pH right is the foundation for healthy asparagus. This perennial thrives in slightly acidic to neutral conditions, making pH a critical factor for long-term success.
Asparagus performs best when the soil pH ranges between 6.0 and 7.0. In this sweet spot, nutrient uptake is optimized, ensuring strong spear production year after year.
Ideal Asparagus Soil pH Requirements
| Requirement | Specification |
|---|---|
| Optimal pH Range | 6.0 – 7.0 |
| Soil Type | Well-draining loam |
| Nutrient Focus | Phosphorus, nitrogen |
| pH Tolerance | 5.5 – 7.5 |
At a pH below 6.0, phosphorus becomes less available, which can stunt growth and weaken your asparagus plants over time.
Conversely, a pH above 7.0 may lead to iron deficiency, causing yellowing fronds and poor spear development.
I always recommend testing your soil before planting. A simple DIY test kit from your local garden center can give you a quick reading.
For the most accurate results, consider sending a sample to a soil testing lab. They’ll provide detailed insights into both pH and nutrient levels.
If your soil is too acidic, adding lime can help raise the pH. Work it into the top 6 inches of soil for best results.
For soil that’s too alkaline, elemental sulfur is my go-to for lowering pH. Apply it in small increments and retest after a few weeks.
Remember, asparagus is a long-term crop. Taking the time to balance your soil pH now will pay off with bountiful harvests for years to come. 🌱
Testing your soil is easier than you think. I recommend starting with a DIY soil pH test kit from your local garden center. These affordable kits give quick results and are perfect for home gardeners.
For more precision, send a sample to your cooperative extension service for a lab test. This costs a bit more but provides detailed nutrient analysis alongside pH levels.
If your pH is too low, garden lime is your best friend. Apply 5-10 lbs per 100 sq ft and work it into the top 6 inches of soil. For high pH, use elemental sulfur at 1-2 lbs per 100 sq ft.
Remember that soil amendments take time to work. I always test in early spring or fall to give changes time to take effect before planting season.
After adjusting, water thoroughly to help distribute the amendments. Monitor your plants for improved vigor and healthier growth patterns.
Consistent soil monitoring is key. I check my asparagus bed’s pH every 2-3 years to maintain that perfect 6.0-7.0 range for optimal spear production 🌱